Showing posts with label Arduino. Show all posts

Tuesday, May 21, 2019

ARDUINO - PART TWO: STARTING OUT

So, you have bought your first ARDUINO UNO R3 or one of its many clones.


You also have a USB cable so that you can plug it in to your computer.


Let's get under way.

You need to arm yourself with some software.

[CLICK ON AN IMAGE IF YOU WISH TO ENLARGE IT]
[HIT ESCAPE TO RETURN TO THE BLOG]


Search in your browser for ARDUINO and visit the website by directly clicking on <Software>


Navigate to this page and DOWNLOAD the IDE which matches your operating system and if you speak English - the appropriate language version.


Once downloaded, install the ARDUINO IDE software on your computer, and see if you are able to open a page where a new 'SKETCH' might begin.  We will begin our ARDUINO journey here in a little while...


While you are online you might also check out the ARDUINO site itself starting from the HOME page.  The WHAT IS ARDUINO? tab explains the history and some FAQ about the boards and what they do, and how to use them.

The drop down menu at the RESOURCES TAB has many interesting things...


A PRODUCTS TAB gives a brief description of each product and suggests possible uses for each device.


A GETTING STARTED TAB outlines how to start using any of the products in a very straight-forward step-by-step explanation.


A TUTORIALS TAB gives you access to examples of how to use and program your ARDUINO, again in simple language.


A REFERENCE TAB is like a dictionary, explaining how each programming word works, and giving tiny examples of how to use it.


AND if you search in the COMMUNITY TAB you will find libraries of programs you can copy or adapt.


AND the TUTORIAL section also contains its own library of programs which in ARDUINO LAND we call SKETCHES.


[THIS IS THE END OF THE STARTING OUT PAGE]
[LOOK OUT FOR OTHER POSTS WHERE YOU WILL FIND BEGINNER SKETCHES]
[SO: MORE TO COME]


Monday, May 20, 2019

ARDUINO - PART ONE: A TASTER - BOUNCING SIGNALS & SPEED TRAP, AND SOME SHOPPING

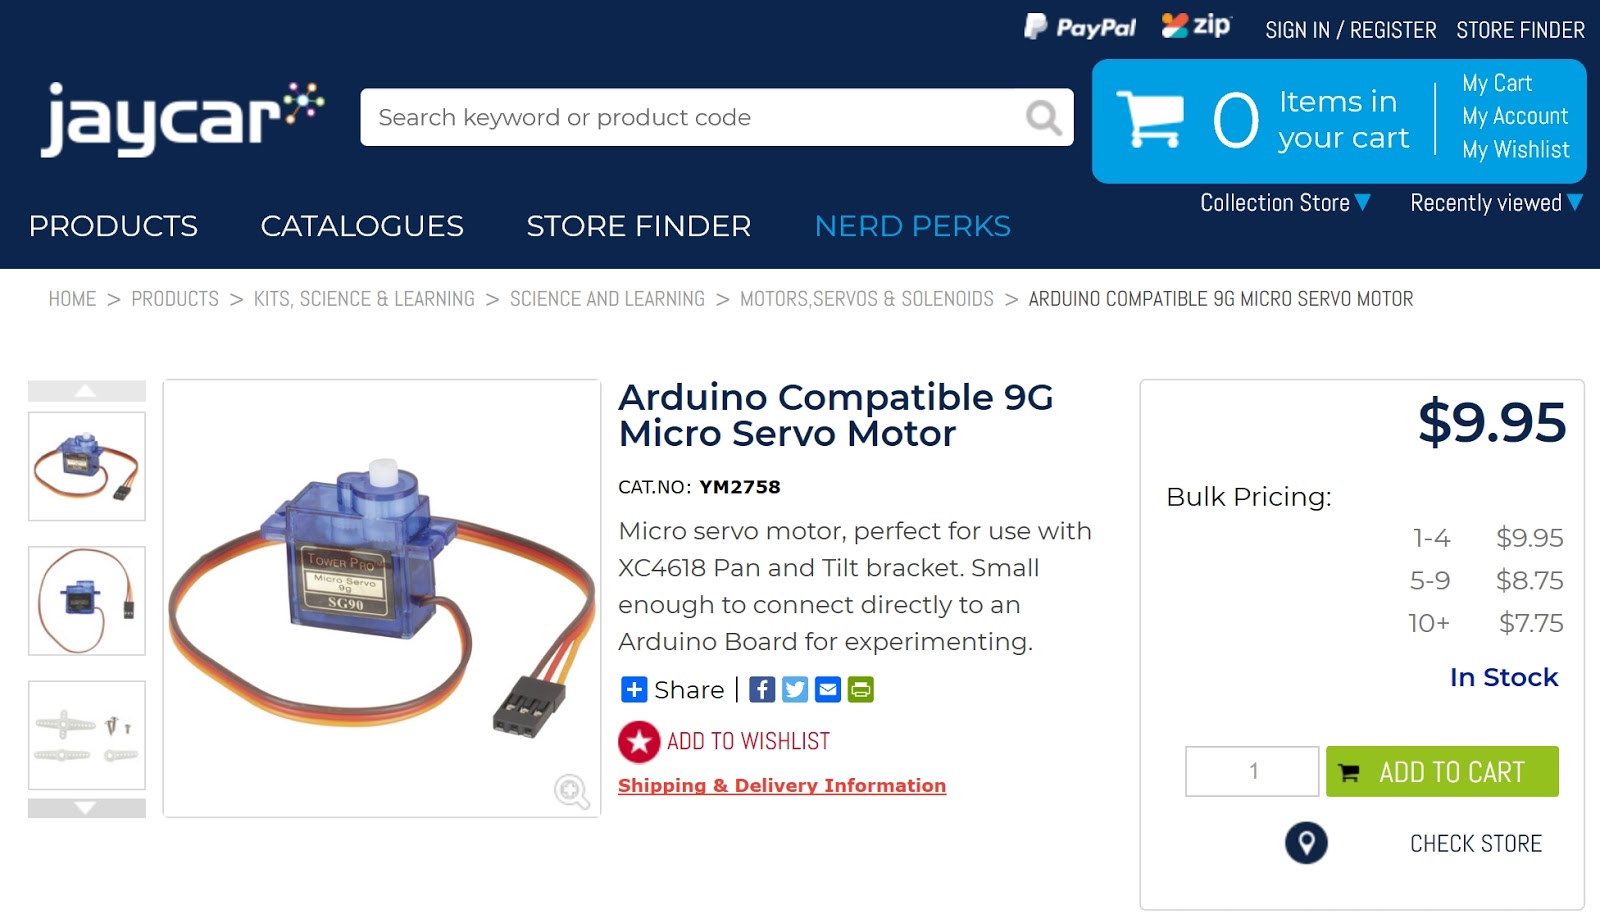
In this post I am only going to put up the videos of my two ARDUINO demonstrations, and provide images of the products used, as they are currently available at JAYCAR.  Prices are at today's prices in Australian dollars.  I will go into depth about programming the ARDUINO in following postings.

[CLICK THE BOX IN THE LOWER RIGHT CORNER TO WATCH VIDEOS FULL SCREEN]
[CLICK AGAIN IN THAT BOX TO RETURN TO THE BLOG]


In this video we witness my mock-up of a NSW 3-aspect upper-quadrant signal.  There were many of them used in the Newcastle district.  In the final version, the signal arm will be 3D-printed, there will be LED illumination behind the spectacle plate, the signal mast will be much finer scale [!], and the servo will be mounted below the baseboard.

The cat fur is NOT prototypical!

The signal can be programmed to drop prototypically to DANGER as a train passes it, and then after a time delay, rise to the CAUTION indication, before finally rising to CLEAR after a further delay.  Signals bounce because their weight (or their counterweight in the case of lower quadrant signals) contains stored energy, which is released upwards again on impact, in ever diminishing amounts, like a tennis or basketball. I have tried to program this reaction to gravity into this signal.  To see the real thing in action, try this link.

https://www.youtube.com/watch?v=_JmoeKavzII

VIDEO CREDIT: Bevan Wall [bwDVD]

These are the components in this demonstration.

[CLICK ON THE IMAGES TO SEE THEM FULL SCREEN]
[HIT ESCAPE TO RETURN TO THE BLOG]


The speed trap.


This program is a lap timer and runs continuously giving a read-out of the time taken and the speed in kph.  It could just as easily be programmed to give mph.  The ARDUINO is shown in the demonstration as a stand-alone operating under battery power.  If connected to your PC or laptop, it can print the times and speeds to your computer screen, and the LCD display would not be required.


While you are on the job, if you do not already have your own leads on hand, you may consider getting these. The mixed set of breadboard leads is probably a good starter set.  Over time I find the most useful types being the male/male and the male/female; as opposed to the female/female leads I hardly ever use.  It is worth paying extra and getting the heavy duty alligator leads.


You may also find it useful to acquire a breadboard to help with some of our experiments.  They come in various sizes, and all are useful.  Here is a small one.


We are also going to need a cable such as this one to connect our ARDUINO to our computer for programming.  You may already own one as it came/comes supplied with many devices such as printers and scanners.


If you are also thinking of building the speed trap laptimer you might consider getting a circle of track such as this from BACHMANN. Shown is a pack of 18" radius EZ TRACK containing 4 pieces - you will need 3 packs.


Sunday, March 10, 2019

WELCOME TO MY PERSONAL BLOG

I am just getting back into blogging after a moderate hiatus.  I am putting this text here as a place marker; and to celebrate getting under way AGAIN.

I will be sharing information here that does not easily fit on my youTUBE channel.


On the rail modelling side we will cover such topics as...

SCENERY

TREES

ROCKS

STATIC GRASS

WATER

AUTOMATIC CONTROL

MICRO PROCESSORS

ARDUINO

ANYRAIL PLANNING SOFTWARE

USING A HELIX or SPIRAL

STRUCTURES

WEATHERING

TRACK LAYING - MY WAY


Come along for the ride. You are most welcome.


PERSONAL MESSAGE ME AT: https://www.facebook.com/jwb4me

THIS IS WHERE YOU ARE RIGHT NOW: https://jwb4me.blogspot.com/


ARDUINO - PART THREE: FIRST STEPS

[THIS SERIES COMING SOON]