Showing posts with label AnyRail. Show all posts

Sunday, May 19, 2019

MORE ON THE SPIRAL DESIGN

This is how my spiral is designed.  It is flat in the middle which makes it easy for a person to reach in and adjust any equipment that needs attention.  Trains must drop down into the spiral and climb out of it.  The steepest grade is in the middle where there is also the smallest radius. Trains climb out of the spiral on the outside which has a gentler gradient and also the curves here are of larger radius.

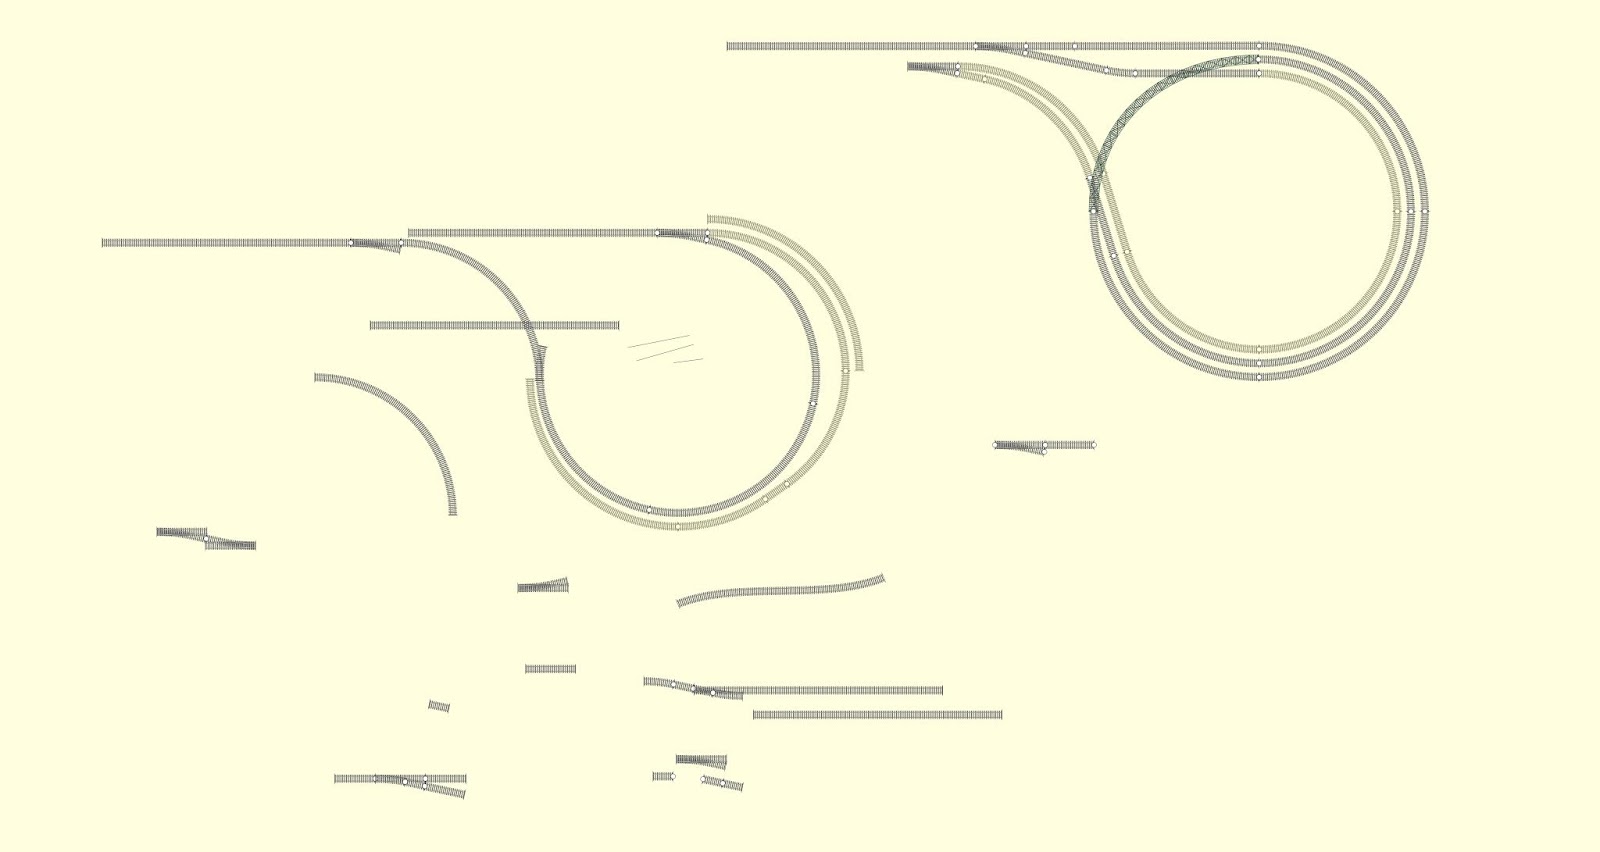
The smallest radius curve is the initial one which takes the train through just one 90-degree quarter-turn at my minimum radius of 20 inches or 508mm. Curves then step out at 2-inch [50.8mm] increments so the remaining radii are 22, 24, 26, 28 with one final quarter turn of 30-inches.

[CLICK ON THE IMAGES TO SEE THEM FULL SCREEN]
[HIT ESCAPE TO RETURN TO THE BLOG]


The grade down into the spiral is 1-in-40 or 2.5%.  Trains can manage steeper grades, with smaller radius curves, so long as they are going DOWN.


The climb out is a gentler grade at 1-in-48 or 2.1% and of further benefit - the radius here is larger - a mix of 28 and 30-inch radius curves.


I have highlighted the 24-inch [609.6mm] radius curve here, to make it easier for viewers to understand how the spiral is constructed.  The curve is interrupted before its final quarter-turn by a two-inch straight.  This straight pushes the spiral to the right, sufficiently for the next larger radius to begin, and creates the 2-inch separation between the tracks.


E
nthusiasts wishing to adopt this plan for storage will need to consider how they will keep the trains separated in this staging yard. One way is to divide the spiral into sections or blocks controlled by relays. [More on that shortly.]  Another way is to allow a set time interval to pass in order to keep the trains apart.  If this approach is chosen, then it is imperative that your locomotives are speed-matched to run at the same speed at a giving setting - say SPEED-STEP 7-of-28, or SPEED-STEP 30-of-128.

CURRENT NEWCASTLE PLAN

Here is my current design for a Newcastle layout drawn using AnyRail.  It is based on the 1937 track plan you can see below. The station throat has been straightened using double-slip points and simplified, to allow easier running for through-traffic on my mythical North Coast Line, which runs under the Hunter River utilising the Brunel inspired Newcastle Harbour Tunnel [?].  The simplified trackplan will also be controlled from computer or tablet, with just a simple single button press, setting multiple points and signals. Access to the shunting neck [which is longer than the prototype] is also via a double-slip point [now], allowing the pilot engine to access ALL platforms, rather than see-saw to reach platform 1 as it had to do in reality.  There is not much room for a yard, which in reality was huge, however there is space for a small goods shed, a loading bank with crane, a carriage shed, and a few coal roads. The arrival and departure roads had to come to the front due to lack of space to the rear.  Of course there is an oil depot, allowing me to rekindle that moment at the terminus of Wickham Branch, where as a small boy I was lifted up onto the footplate of a 19-class, and my love-affair with trains began.

[CLICK ON THE IMAGES TO SEE THEM FULL SCREEN]
[HIT ESCAPE TO RETURN TO THE BLOG]


Staging is in the form of a true flat spiral. The idea came to me while playing around with track pieces in AnyRail while designing a return loop, and not wanting to use multiple layover tracks with points, as the points took up so much room.  My design creates 24 metres of storage. 


Only after completing the design, did I remember that maybe I had seen something similar on youTUBE before, and in fact, I had; a creation of James Risner - you can watch his version at the following link.  He runs super-long trains through his trackwork.  I will be running much shorter trains, usually only with one engine, and with timed separation between each train.

https://www.youtube.com/watch?v=qtc__nxtQSc

https://www.youtube.com/watch?v=kN6BXDROBVk&t=95s


For those of you who cannot find the video on youTUBE here is a short sample.


Sunday, March 10, 2019

WELCOME TO MY PERSONAL BLOG

I am just getting back into blogging after a moderate hiatus.  I am putting this text here as a place marker; and to celebrate getting under way AGAIN.

I will be sharing information here that does not easily fit on my youTUBE channel.


On the rail modelling side we will cover such topics as...

SCENERY

TREES

ROCKS

STATIC GRASS

WATER

AUTOMATIC CONTROL

MICRO PROCESSORS

ARDUINO

ANYRAIL PLANNING SOFTWARE

USING A HELIX or SPIRAL

STRUCTURES

WEATHERING

TRACK LAYING - MY WAY


Come along for the ride. You are most welcome.


PERSONAL MESSAGE ME AT: https://www.facebook.com/jwb4me

THIS IS WHERE YOU ARE RIGHT NOW: https://jwb4me.blogspot.com/


ARDUINO - PART THREE: FIRST STEPS

[THIS SERIES COMING SOON]